The six week, several hundred hour build on this latest work has finally come to a close. A bit cliche, but after spending such a long time on a project like this, I feel a lot like having just run a marathon, filled with a conflicting sense of accomplishment and pure exhaustion.
But now that the work is done and I have chance to regroup, I am eager to share with you the results of my latest art/engineering adventure.
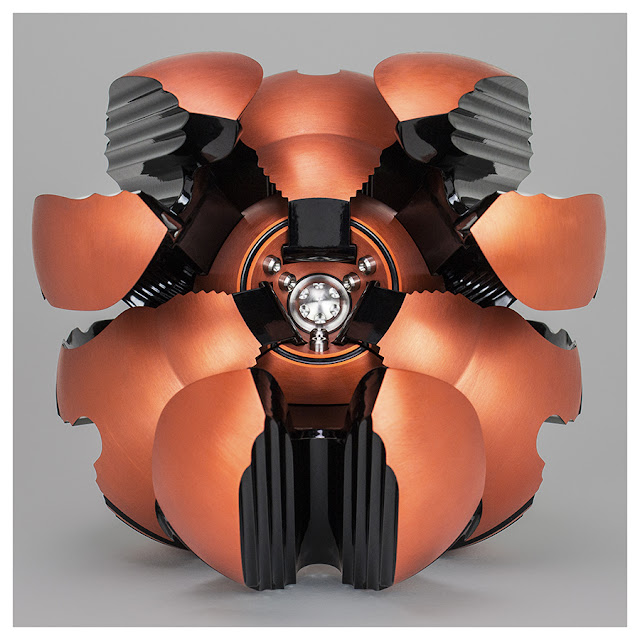
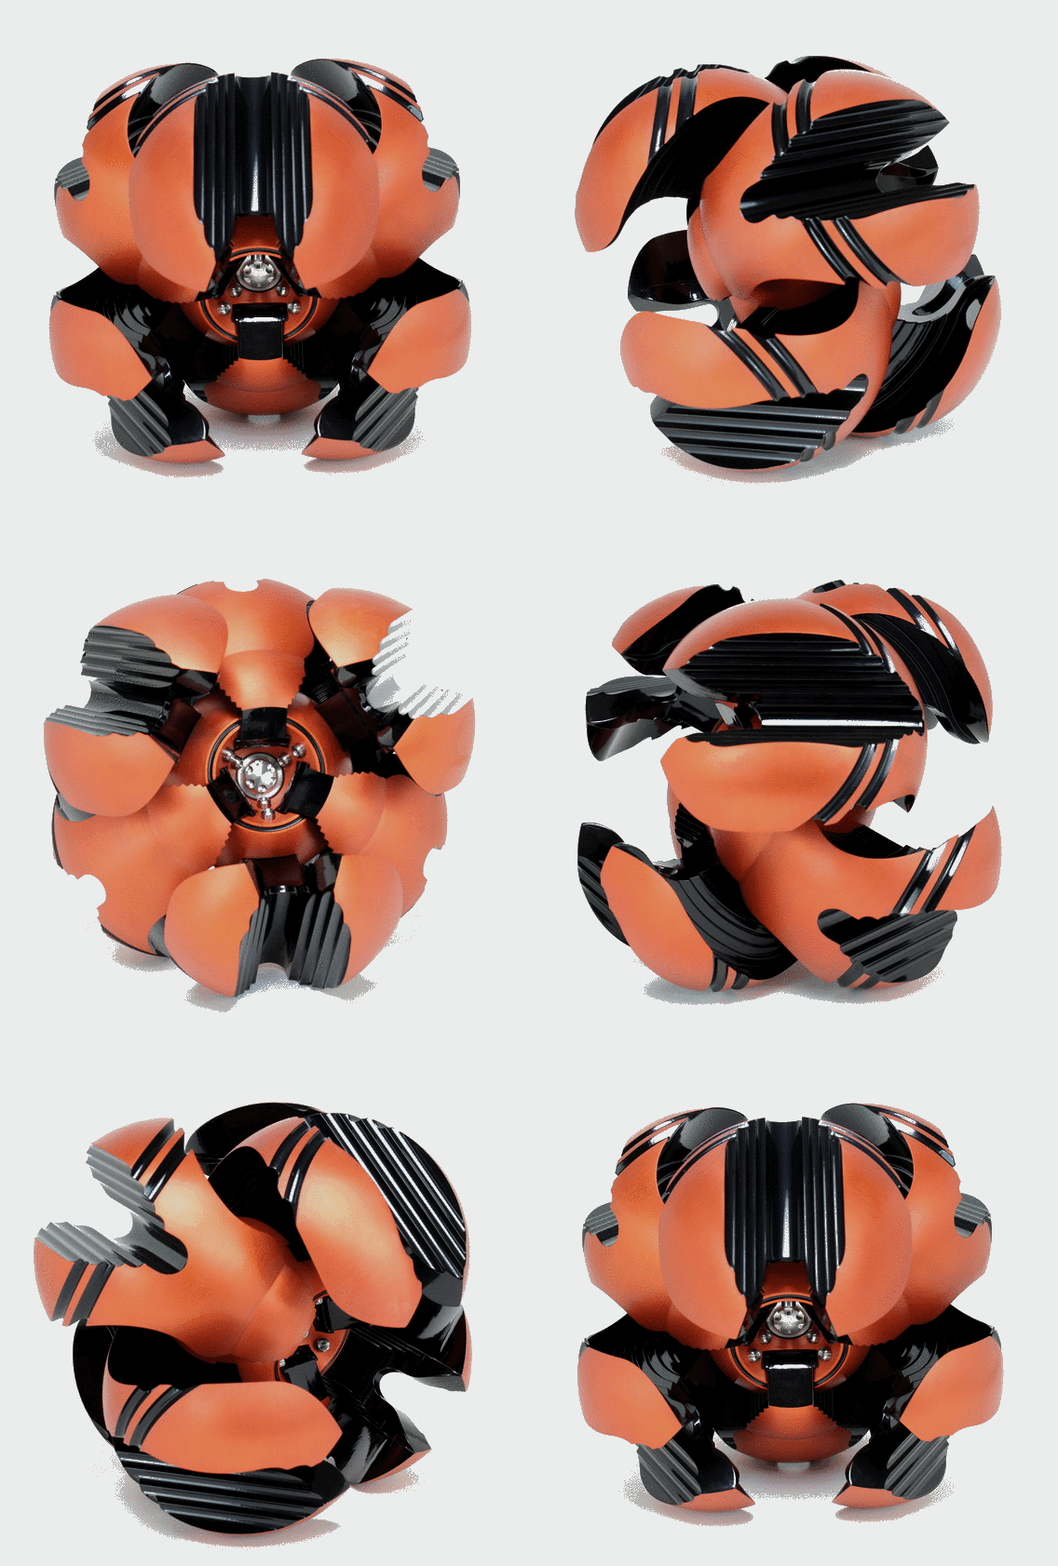
The design for this work is an extension of my work on H 411, unlike its predecessor, it has proven to be quite a shape shifter, the work reads differently from virtually every angle. Likewise, the coloring shifts a lot depending on the light as well. The anodizing is a copper colored dye that shifts from a very coppery orange under bright light, to a red-orange under normal lighting.
There is a lot to discover with this work and photos are definitely no substitute for seeing it in person, but I took plenty of them to help illustrate this.
After the machine work was finished, there was an entire regime of post machining coatings, polishing, and finishing steps that were necessary to color and treat the parts which extended finishing phase to this build.
Developing the process for applying powder coating and anodizing to the same part has taken some time and experimenting to refine, but continues to working quite well and I have some ideas on how to build on this.
Dimensionally, the piece fits neatly into about a 10" Diameter sphere. Materials are aluminum for the body, with the silver details being made out of titanium.
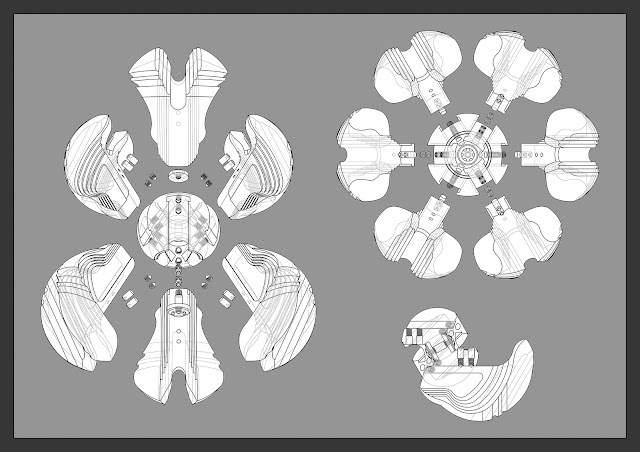
I went with two drawings this time, I am building on the installation I did for my exhibit in Shenzhen, incorporating multiple ways of expressing the engineering work that goes into each sculpture.
I have some ideas on how to expand all of this still further as well. With any luck, I will find the time to do so this year.
Process Notes: The blank billets for this work weighed in at over 150 lbs before machining began, the finished sculpture is just over 15 lbs which gives a good sense of just how much material was removed to achieve the final result. Below is a series of images that show some of this transformation.
Again, there is no substitute for seeing the work in real life, but I cobbled together this fun little gif (stop motion style) to give a more dynamic sense of the work, its a bit rough, but good enough for these purposes. I will have to get a proper rotary together very soon.
As always, questions and comments are welcome.


